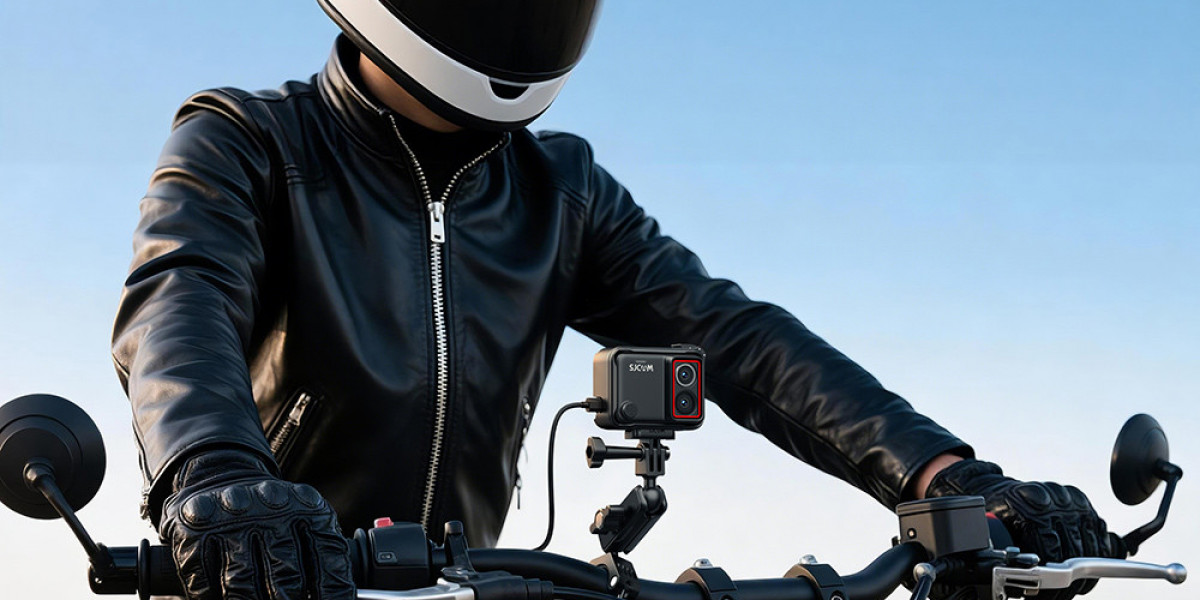

Installing a camera on your motorbike opens up a whole new way to capture your rides. Whether you want to record scenic routes, document your commuting adventures, create content for social media, or simply keep a visual record for safety reasons, a well-mounted action camera can deliver smooth, immersive footage from the rider’s point of view.
This complete guide walks you through everything you need to know about installing a camera on a motorbike safely and effectively. We cover choosing the right mounting positions, selecting suitable mounts, step-by-step installation instructions, best practices for vibration and weather protection, recommended camera settings, and common mistakes to avoid.
Why Install a Camera on Your Motorbike?
A camera on a motorbike serves multiple purposes:
- Creating engaging first-person riding videos
- Capturing beautiful landscapes and roads from a unique perspective
- Recording incidents for insurance or legal purposes
- Improving your riding technique by reviewing footage later
- Sharing adventures with friends or online communities
Unlike handheld filming, a properly mounted camera on a motorbike keeps both hands free and delivers consistent angles even at speed.
Choosing the Best Mounting Positions
The location of your camera on a motorbike significantly affects the quality and usefulness of the footage. Here are the most popular and practical positions:
1. Helmet Mount
This is the classic POV option. Mounting the camera on top or the side of your helmet gives an authentic rider’s-eye view. It captures what you see and feels immersive. Make sure the mount is secure and does not interfere with your field of vision or helmet balance.
2. Handlebar Mount
A handlebar mount provides a stable forward-facing view of the road ahead. It is excellent for documenting routes and traffic conditions. Choose a mount that clamps tightly and does not obstruct controls or mirrors.
3. Chest Mount / Harness
Wearing the camera on a chest harness offers a more natural body-level perspective. It reduces extreme head movements that can make helmet footage dizzying and works well for longer rides.
4. Side Mirror or Fairing Mount
Some riders prefer mounting the camera on the side mirror stalk or fairing. This can produce cinematic side angles of the bike and road. Ensure the mount does not create dangerous protrusions.
5. Rear Mount (for following traffic or scenery)
A rear-facing camera is useful for recording what happens behind you, which can be valuable for safety documentation.
Many riders use more than one camera on a motorbike to capture multiple angles simultaneously.
Essential Equipment You Will Need
Before starting the installation, gather the following items:
- Action camera compatible with vibration and weather
- Suitable mounts (helmet, handlebar, chest, or adhesive mounts)
- Anti-vibration dampeners or rubber pads (highly recommended)
- Cable ties or additional securing straps for extra safety
- MicroSD card with sufficient capacity and high write speed
- Extra batteries or a power bank solution if available
- Cleaning cloth and isopropyl alcohol for surface preparation
Always choose mounts designed specifically for action cameras and motorbike use. Generic mounts may loosen under vibration.
Step-by-Step Guide: How to Install a Camera on Your Motorbike
Step 1: Plan Your Shot and Choose the Position
Decide what kind of footage you want. For immersive POV, choose the helmet. For road documentation, go with the handlebar. Test different angles by holding the camera in place while sitting on the bike before permanently mounting it.
Step 2: Prepare the Mounting Surface
Clean the area thoroughly. Dirt, oil, or wax can prevent adhesive mounts from sticking properly. Use isopropyl alcohol and a clean cloth. For clamp-style mounts, ensure the surface is free of debris so the clamp grips securely.
Step 3: Attach the Base Mount
Follow the manufacturer’s instructions for your specific mount:
- For helmet mounts: Secure the base using the provided adhesive or strap system. Many helmet mounts use a curved adhesive base.
- For handlebar mounts: Open the clamp, place it around the bar, and tighten firmly. Use rubber inserts if provided to protect the handlebar and reduce vibration.
- For adhesive mounts: Apply firm pressure for at least 30–60 seconds and allow the adhesive to cure according to the instructions (often 24 hours for maximum strength).
Step 4: Add Anti-Vibration Protection
Motorbike engines and road surfaces create significant vibration. Insert rubber dampeners or vibration-isolating pads between the camera and the mount whenever possible. This simple step dramatically improves footage stability and protects the camera’s internal components.
Step 5: Mount the Camera
Attach the camera to the base using the quick-release system common to most action cameras. Ensure it clicks securely into place. Double-check that the lens is facing the desired direction and is not obstructed by the bike’s bodywork, your gloves, or the helmet visor.
Step 6: Secure the Setup
Use cable ties or additional straps as a secondary safety measure, especially on helmet and handlebar mounts. Never rely solely on adhesive or a single clamp for high-speed riding.
Step 7: Test the Installation
Before riding, perform a thorough safety check:
- Shake the mount vigorously to test security.
- Start the engine and observe whether the camera vibrates excessively.
- Take a short test ride at low speed and review the footage.
- Check that the camera does not interfere with steering, braking, or your vision.
Step 8: Final Adjustments
Fine-tune the angle so the horizon is level and important elements (road, handlebars, or scenery) are properly framed. Enable any horizon-leveling features your camera offers.
Best Practices for Camera on Motorbike Use
- Always prioritise safety. A loose camera can become a dangerous projectile.
- Protect the camera from rain and dust. Many modern action cameras are water-resistant, but a protective housing adds extra security.
- Manage wind noise. Use a wind muff or position the camera to reduce direct wind impact on the microphone.
- Monitor battery and storage. Long rides drain power quickly. Carry spares.
- Respect privacy and local laws. Avoid filming private property or other road users in ways that could cause issues.
- Regularly inspect mounts. Vibration can loosen screws and clamps over time.
Recommended Camera Settings for Motorbike Footage
- Resolution: 4K at 30fps or 60fps for a good balance of quality and file size
- Stabilization: Always enable the highest available electronic image stabilization
- Field of View: Medium or wide, depending on whether you want more of the road or a tighter view
- Frame Rate: Higher frame rates (60fps+) help with smoother slow-motion of interesting moments
- Audio: Enable wind noise reduction if available
Common Mistakes to Avoid
- Mounting the camera too loosely
- Ignoring vibration isolation
- Blocking your view or controls with the mount
- Using cheap, non-vibration-rated adhesive
- Forgetting to format the memory card before long rides
- Not testing the setup at low speeds first
Recommended Camera: SJCAM SJ30 for Motorbike Use
When choosing a camera on a motorbike, reliability, stabilization, battery life, and durability matter most. The SJCAM SJ30 stands out as an excellent option for motorcycle riders and content creators.
The SJ30 features dual sensors (daylight + starlight) that automatically adapt to changing light conditions — from bright daytime highways to low-light evening rides. It records up to 8K video and offers strong 4K performance with SteadyMotion 2.0 stabilization and 45° horizon lock, which helps keep footage level even during leans and turns.
Additional advantages for motorbike use include:
- IPX8 waterproof rating up to 5 metres without a case (and 30 metres with the optional housing)
- 2.51-inch flip touchscreen for easy framing
- Solid battery life that can be extended with the optional power handle
- Detachable wind guard to reduce wind noise at speed
- Compact and relatively lightweight design suitable for helmet or handlebar mounting
Whether you are recording weekend canyon runs, long-distance touring, or daily commuting, the SJCAM SJ30 delivers the combination of image quality, stabilization, and toughness needed for a reliable camera on a motorbike.
Final Thoughts
Installing a camera on your motorbike is straightforward when you follow a methodical process. Focus on secure mounting, vibration control, and thorough testing, and you will be rewarded with high-quality footage that captures the freedom and excitement of riding.
Start with one solid mounting position, learn what works for your bike and riding style, and expand from there. With the right setup and a capable camera such as the SJCAM SJ30, every ride becomes an opportunity to create memorable content.
Ride safe, and enjoy capturing the journey.